This article will guide you through on setting up our DNS service on your Amazon Fire TV and Amazon FireTV Stick, ideally you will need to use a computer to register your IP on our network.
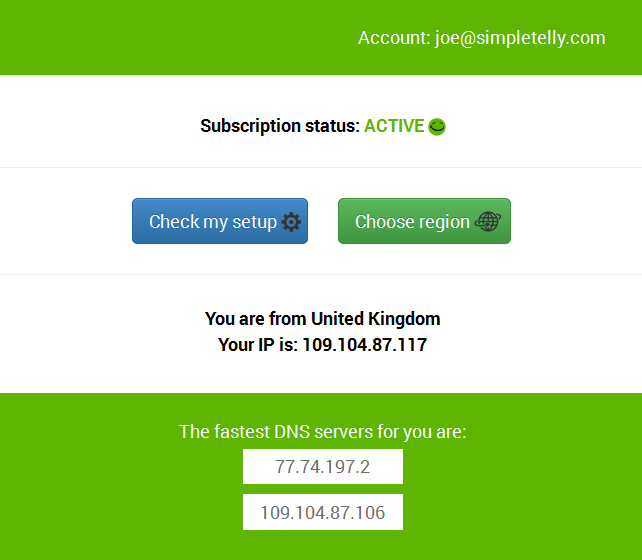
Login to our website, www.simpletelly.com from a computer on the same network as your Amazon Fire TV.
Take note of the fastest DNS server address that appears on screen.
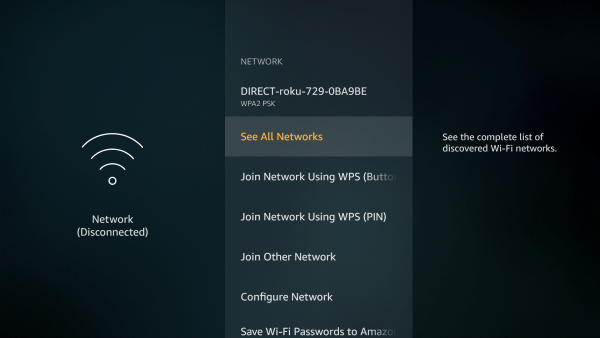
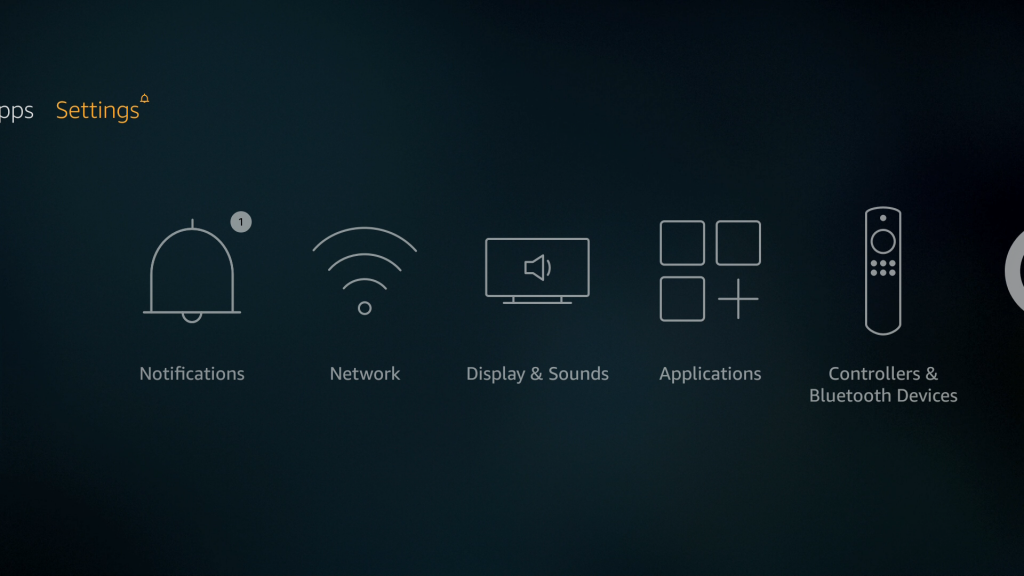 Select Network
 Select Configure Network if you are on a Wired connection or select your Wi-Fi network if you are connected wirelessly.
Note: The instructions below were based on a connection to a Wireless network, if you are on a Wired connection, please skip to Step 3.
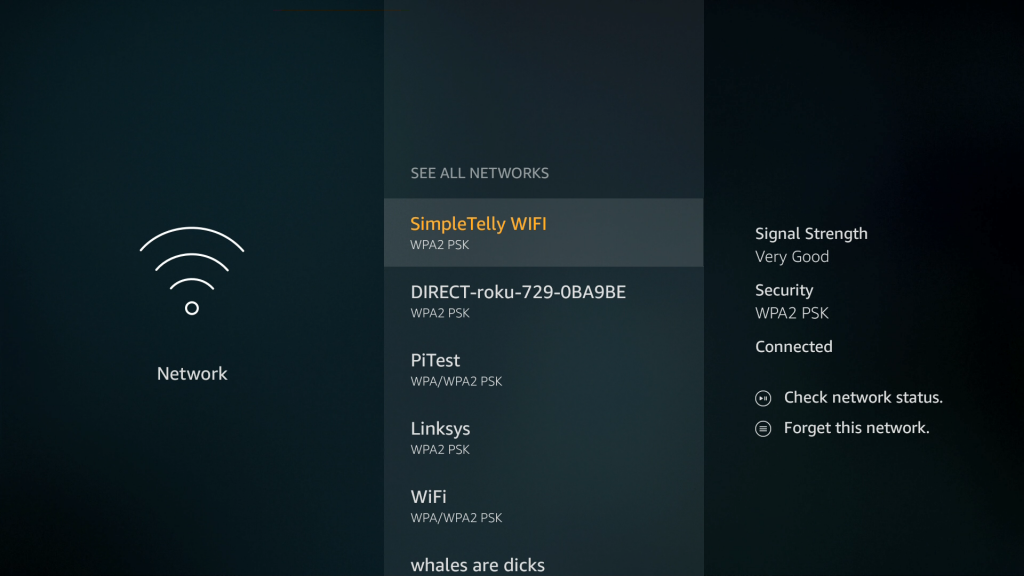
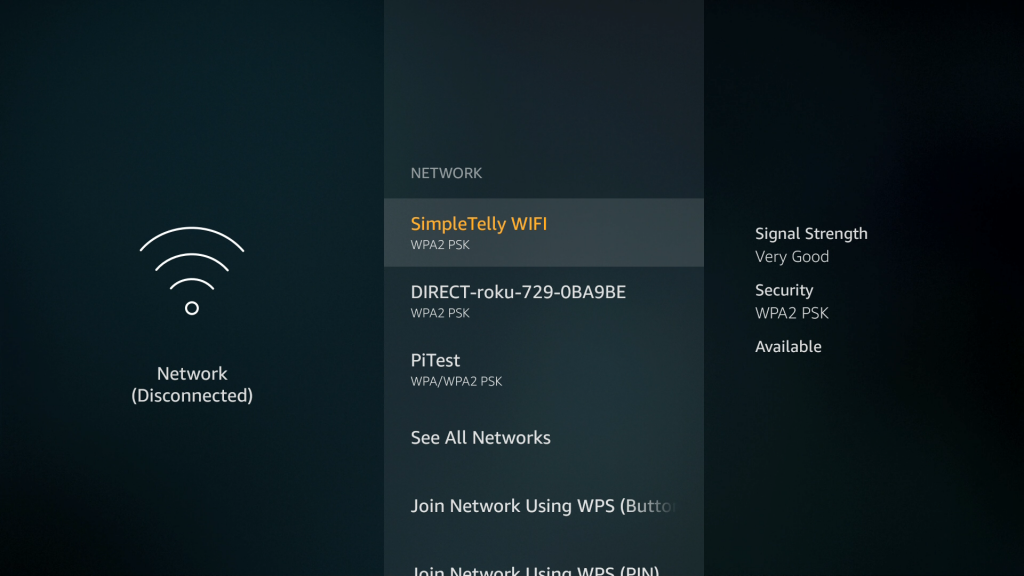 If your Wifi network does not show up on this screen, please select See All Networks.
 If you're already connected to your Wifi network, please forget the Settings of the Wireless network by pressing the Option button (3 lines) that can be found on your remote while highlighting the Wifi network.
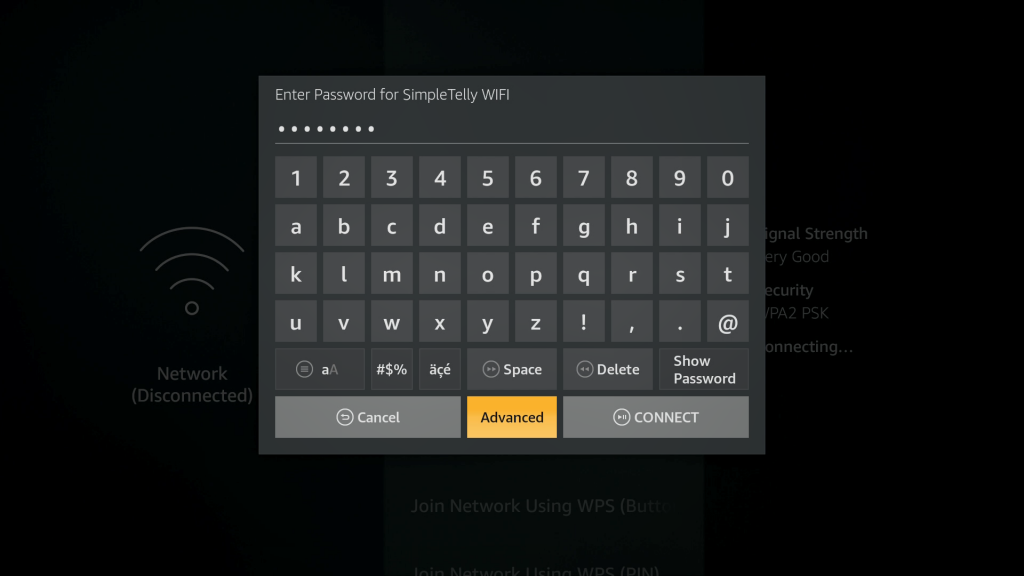
 Select your Wi-Fi network again and once you've entered your password, click on Advanced.
Important: The greyed out details that appears are only an example, you will need to key in the details manually based on the network you are connected to.
The device network details that we need are the IP Address and Gateway.
If you are not sure where to find the IP Address and Gateway details, you can get these by going to Settings > Device > About > Network.
Once you've confirmed the details, enter them into the appropriate fields as such:
IP address: Your device IP address
 As an example, please refer to the screenshot below:
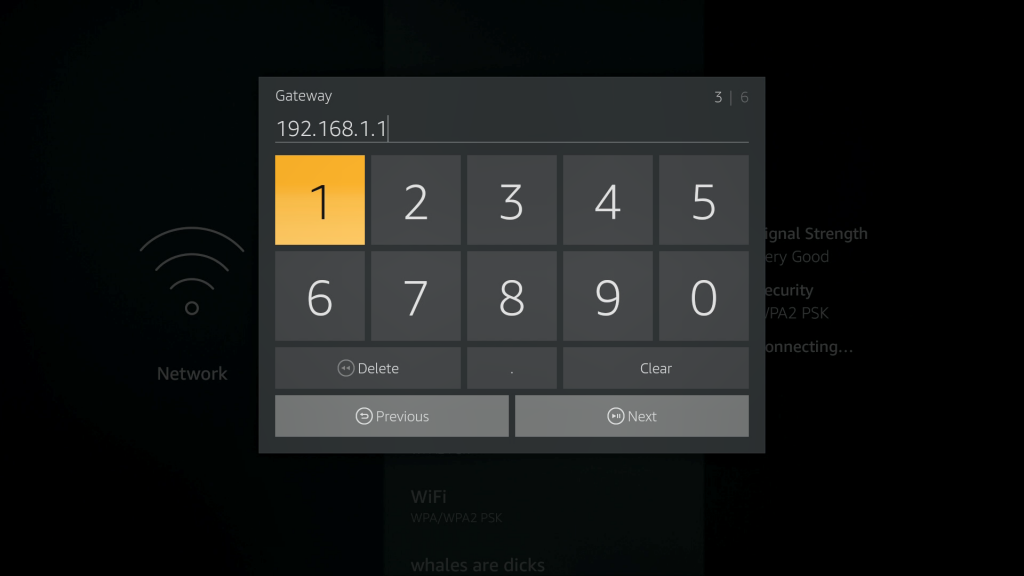
 Gateway: Your network default gateway ( router IP address )
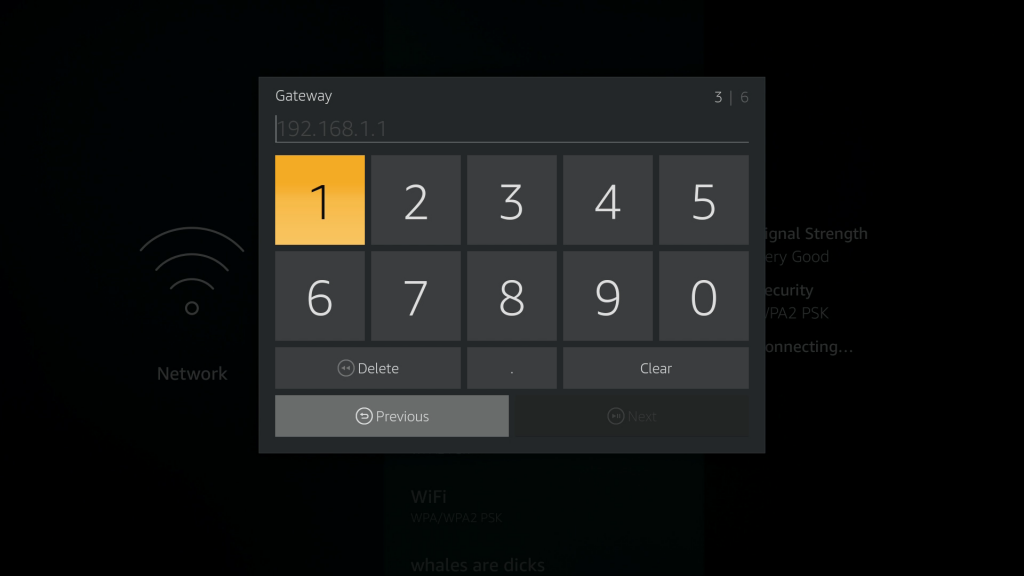 Please refer to the screenshot below as an example:
 Network Prefix length: 24

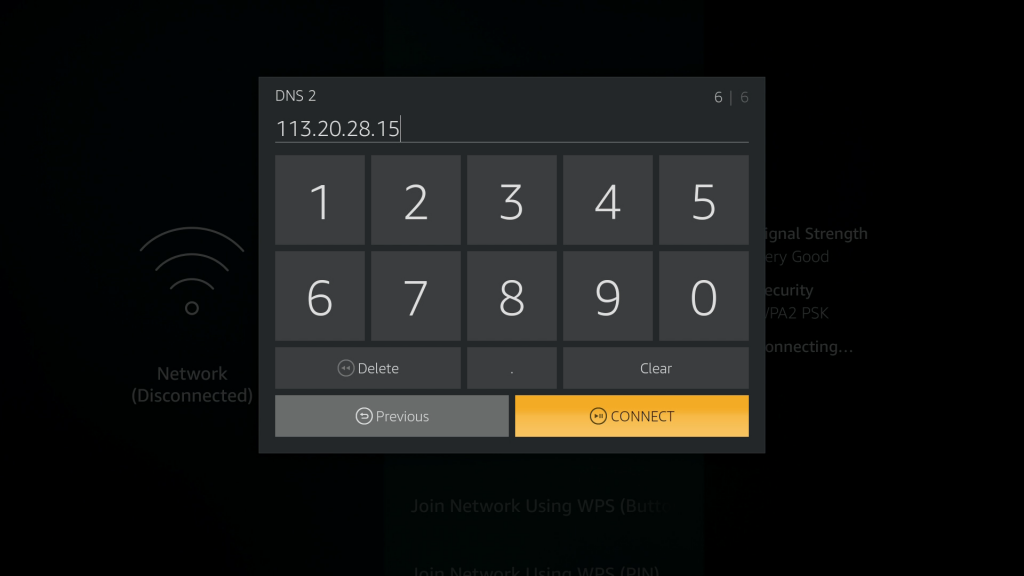
In the following screen, please fill in DNS 1 and DNS 2 with The fastest DNS addresses that appeared on your browser earlier.

 Note: Just to reiterate, the details above are just an example on our device, this will be different for your devices, please take a note of them first before editing.
Tap Connect to save the changes.
 For the full list of supported channels, please refer to our Supported Services page.