This page will guide you through the setup process on a router flashed with Tomato firmware.
Note: While these instructions were written based on TomatoVPN (Shibby) version 1.28 (update 132), the principal should be the same for other versions of Tomato firmware.
Login to our website, www.simpletelly.com from a computer on the same network as your Tomato router.
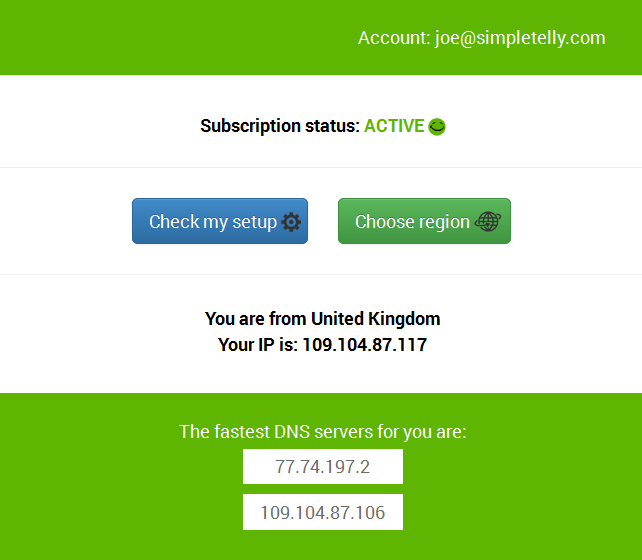
Take note of the fastest DNS server address that appears on screen.

Login to your Tomato router user interface and click on Setup. In this example, our router IP address is 192.168.1.1
Enter your router credentials.
Note: The default login details for this router are;
Username: root
Password: admin

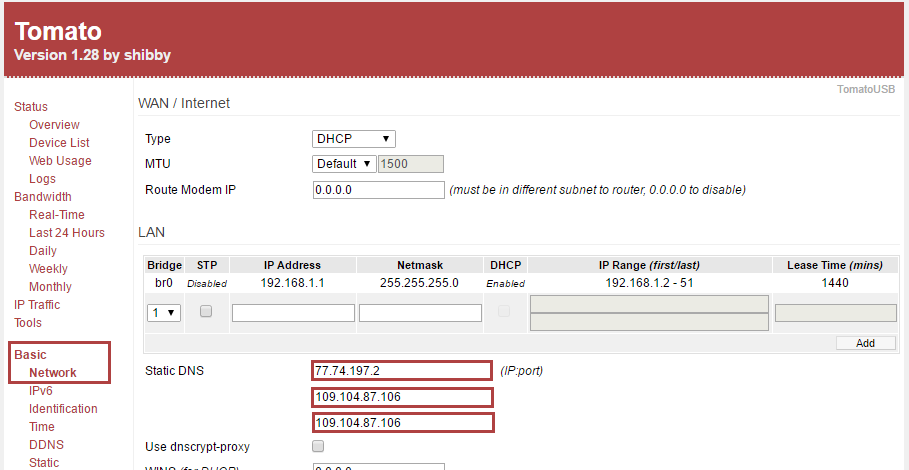
Once you've gained access to the Settings screen, click on Basic and Network found on the left hand menu.
Next, scroll down until you see Static DNS and enter the two DNS servers you see in your Client Area.
Note: There is 3 Static DNS fields and you're required to enter the first two fields. The third field is optional and can be filled in with the second DNS address details.

Once you've entered the DNS servers, please click on Save and reboot your router by clicking on Reboot on the left.
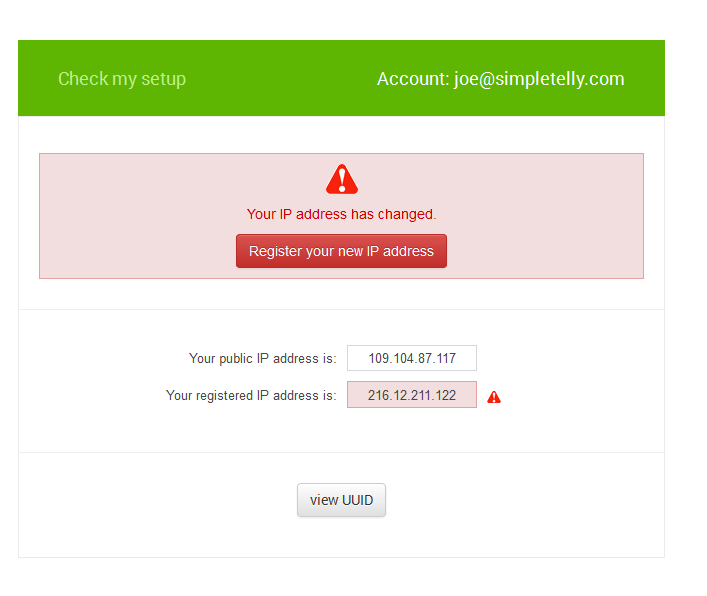
Once you have done that, go back to your account page and click on Check My Setup.

If this is the first computer you have setup from this location, you will probably need to register your current IP address. Click on Register your new IP address.

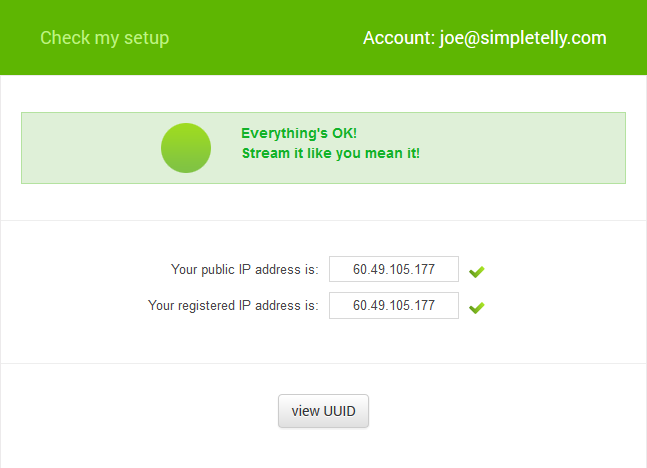
You will get Everything's OK! message on your screen if your IP has been registered successfully in our system.
Note: If you get your DNS is not configured error message, please try again in a few minutes or reboot your router.

Now that you have set up and registered your system you can go ahead and access the TV site of your choice and stream it like you mean it!
For the full list of supported channels, please refer to our Supported Services page.
Unfortunately it doesn't always go to plan! If you are having problems please email us at support@simpletelly.com and we will do our best to assist you.
