OSMC (short for Open Source Media Center) is a Linux distribution based on Debian that brings Kodi to a variety of devices. It is the successor to Raspbmc and Crystalbuntu.
This article will guide you through on setting up our DNS service on OSMC through their standard interface, ideally you will need to use a computer to register your IP on our network.
While the instructions below were tested on a Raspberry Pi 2, the steps are the same for all the OSMC supported devices. If you using the Kodi default interface, you can refer to the set up instructions here:
How to set the DNS on OpenElec via the default Kodi interface
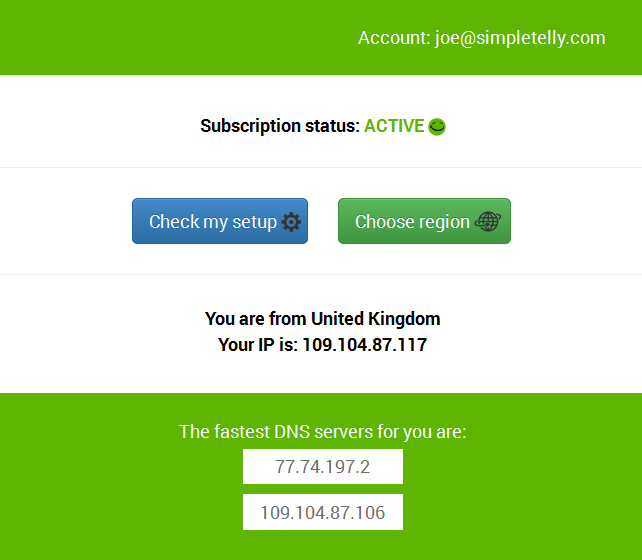
First of all, please login to our website, www.simpletelly.com from a computer on the same network as your OSMC device.
Take note of the fastest DNS server address that appears on screen.
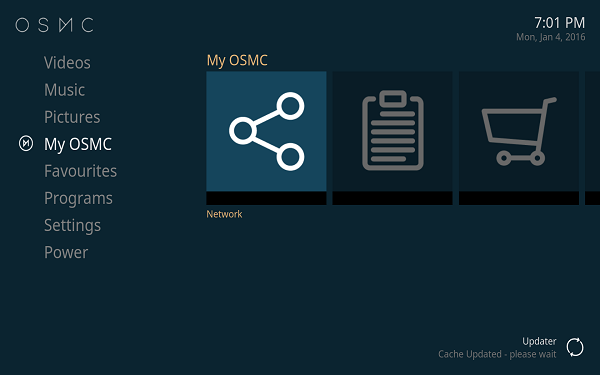
From the OSMC Main Menu, scroll down to My OSMC and select Network.
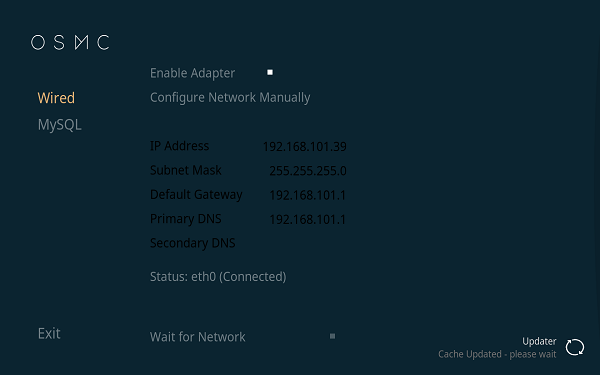
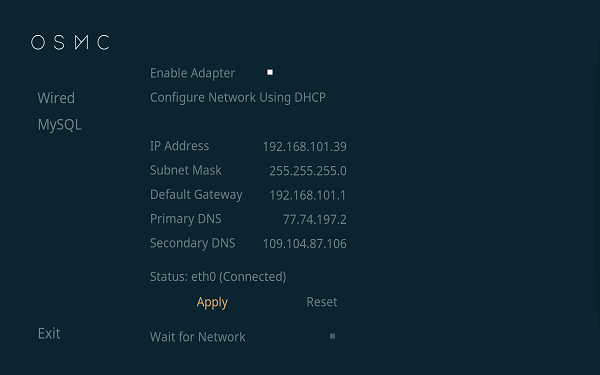
Select the active network adapter, in this case we selected the Wired connection.
By default, your network should be configured automatically. Click on Configure Network Manually. This will enable you to edit your Network connection.
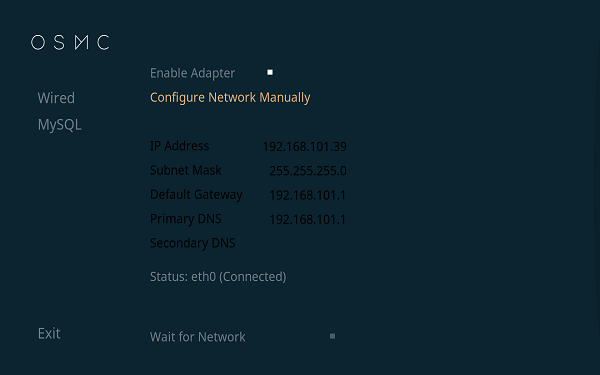
The IP address, Subnet Mask and Default Gateway fields should be populated with your network details, you will just need to edit the Primary DNS and Secondary DNS address with the fastest DNS address that appeared on the browser earlier.
Click on Apply once that is done.
Note:Just to reiterate, the details above are just an example on our device, this will be different for your devices so please take a note of them first before editing.
Now that you have setup and registered your system you can go ahead and access the supported TV apps of your choice and stream it like you mean it!.
For the full list of supported channels, please refer to our Supported Services page.
Unfortunately it doesn't always go to plan!
If you are having problems please email us at support@simpletelly.com and we will do our best to assist you.

